

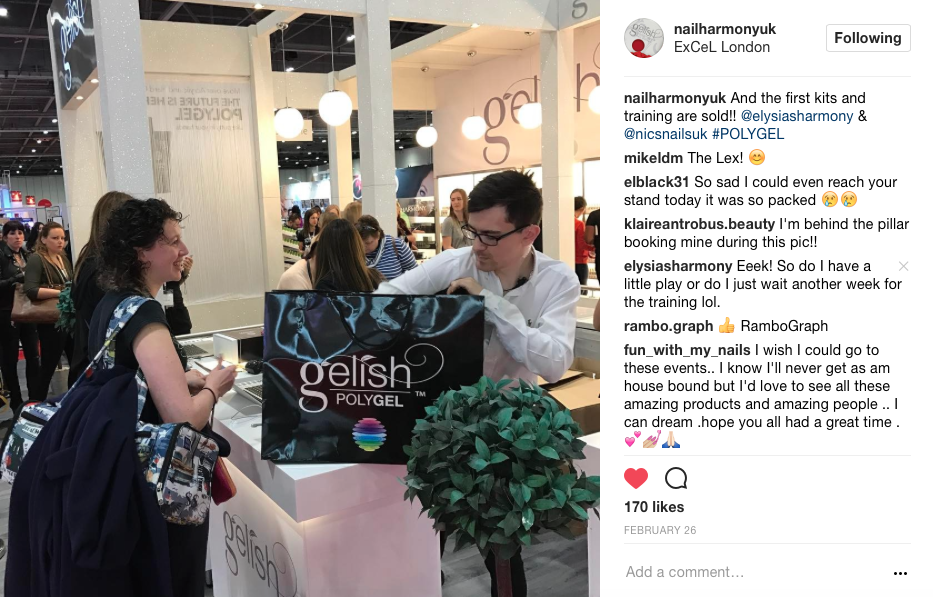
I’ve been meaning to write up my review of Gelish Polygel from Nail Harmony for a while now. We were lucky enough here in the UK to be able to see it first with its international launch being at the Professional Beauty Show in London on the 26th February 2017. With me being the complete addict that I am I had to be first in line to get this amazing new product.
I have prattled on quite a lot below, so for those of you who don’t want to read everything here is my quick synopsis. Please note this is from my experience and views on the product and not that of Gelish or Nail Harmony.
Pros
- Lightweight – nearly 25% lighter then acrylics
- Smells pleasant – no monomer required
- Flexible
- Durable
- No heat spikes – as long as you apply correctly
- Endless play time
- Easy to file – dust falls downwards
Cons
- Can heat spike if incorrectly applied
- You cant guarantee pink and white designs are cured right the way through especially if you are using non clear forms to sculpt.
- Can be tricky on extreme nail biters
Top Tips
- Wet your brush in slip, wipe both sides on the dappen dish, then lightly on to couch roll to get the correct amount.
- When apply to all 5 or 10 fingers flatten the thumb bead out slightly first to avoid it moving onto the skin.
- Use a 240 file or well used 180 around the cuticle area to get a flush smooth finish
- Don’t use forms when extending nail biters
- Pinch at 10 seconds
- Flash cure at 5 seconds to guarantee minimal heat spiking
- Keep away from skin to avoid any lifting
What to avoid
- Using too much slip can cause lifting and heat spikes
- Using too much product so that it is under cured
- Getting the product in the skin will almost guarantee lifting.
Random things I’ve noticed
- If you’re mobile and you kit is left in a very hot environment like a car, then the product gets lots of air bubbles in it, which takes longer to apply and remove bubbles so try to avoid it.
What Is Gelish Polygel?
Polygel is a new bread of nail extension product. It has been designed, tried and tested in US by Danny Haile and his team to create the ultimate overlay and extension product. It is meant to take the best of both hard gels and acrylics and combine them. It has been created using tri-polymer technology which includes oligomers from gels, polymers from acrylics and polymers from lacquer which gives the product a putty-like viscosity. It is this tri-polymer technology that provides for an easy application, allowing you to work at your own speed to create flawless nails every time.
The product its self is then squeezed out from a tube, sliced, and rolled onto the nail. It is said that the product will then sit on the nail until you move it. Although this is mostly true, I do find if I apply to all 5 or these days in most cases 10 fingers at the start, the thumb beads do move due to gravity and have the potential to go on the skin which messes with the longevity of the product not to mention starting the whole over exposure issues. To avoid this I simply pat the thumbs down every so slightly before starting on the little finger and working my way through.
The Polygel is moved around the nail by a product called slip. Now unlike a standard liquid and powder application there are no active ingredients in the slip. This means you don’t actually need the slip for the product to work, it is just there to make your life easier and help the brush literally slip over the product instead of getting stuck and gloopy. Now I still offer nails to a few mobile clients and I did once manage to forget the slip. So knowing that actually I didn’t need it for the product to work and I only needed the tiniest of bits I decided to use cleanse. Now I am in no way recommending you do this, and quite frankly I don’t think insurance would cover you if you did, but it worked and my client got her usual months wear out of the product with absolutely no lifting when I came to re do them – panic over. But the slip does have a pleasant scent of watermelon and cucumber allowing for even those with discerning noses to use the product. From my point of view it’s great as I still offer evening appointments at my home and no longer have the strong chemical acrylic smell and therefore a family who whine at me, but instead a pleasant smelling home where no one even knows when I am creating beautiful extensions.
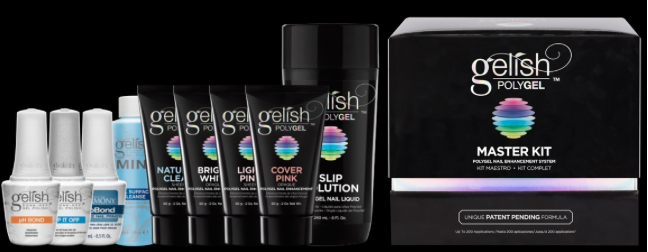
Polygel is currently available in 6 colours:
- Bright white
- Soft white
- Natural clear
- Light pink
- Dark pink
- Cover pink
These can give a great pink and white finish or easy infill to be able to easily see the condition of the natural nails underneath. I do hope going forward Gelish release a few new colours, ie a few other cover pink shades and a crystal clear. I have encapsulated using both the dark pink and the natural clear polygel, however this tones down the sparkle and shine of the glitters. Chunky glitters work ok but fine powders look matte.
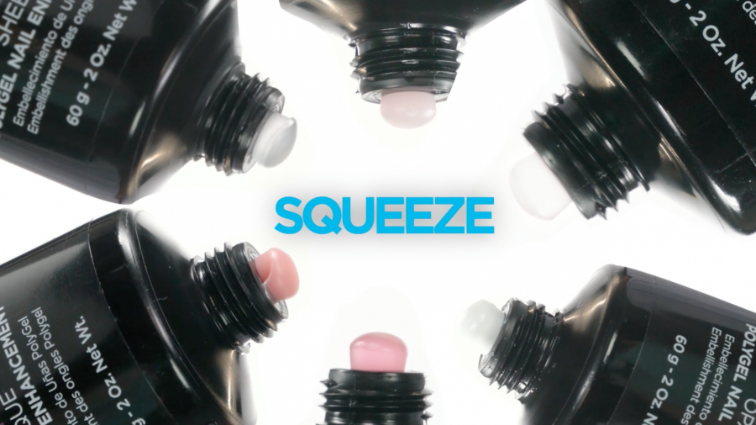
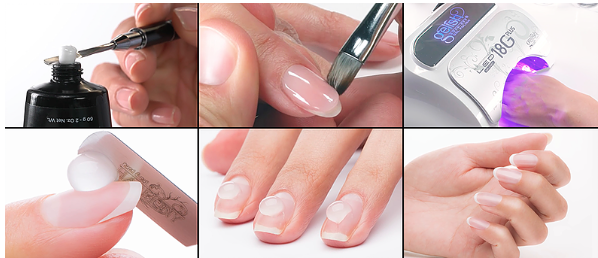
Application Process
With any extension or overlay product preparation is key, so make sure the nail plate is clean and neat and apply the ph bond and pro bond (making sure to avoid the skin, only a small amount is required). You then use their tag line “squeeze, slice and roll” to remove the product from the tube with a metal slicing tool and place the bead on the nail plate. As mentioned above you can do this on all 5 or 10 fingers at once to save time (but I do recommend quickly patting the thumb beads down before actually perfecting the product application.
You only need the smallest amount of slip on the brush, so dip it in to the dish, wipe on both sides and then wipe on your couch roll or napkin what ever you use and then use it to move the product around the nail. Although the product is marketed with no heat spikes if you apply too much Polygel or use too much slip on the brush you will end up with heat spikes. Also out of habit I flash cure for 5 seconds just so clients do not experience this.
If you are new to extensions start by using the tips, this will give you a base to apply to and makes applications such as pink and white or baby boomers much easier. I would also recommend you cure the cover pink and the whites for 1 minute as opposed to 30 seconds.
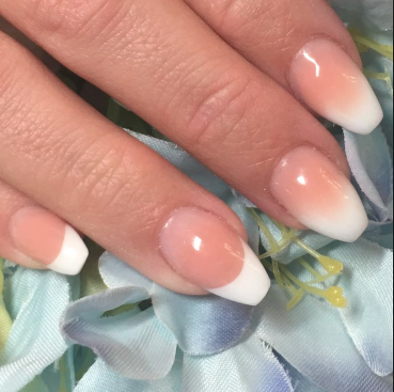
If you are going straight into pink and white or baby boomers on sculpted forms, if you are not using a clear from then you are running the risk of the product under curing. Now although I have done both and do do both there’s a few points to watch out for. First once applied and cured for 30 seconds, remove the form and turn the hand so the palm is upwards, chances are you will have stalagmites of Polygel on the underside of the nail, you can then wipe these flat with the brush and replace the hand normally in the lamp so the underside is cured using the mirrored base of the 18G lamp. As long as your application was thin this should be fine. If however your application has been too thick both the top and bottom the Polygel will appeared cured but the middle wont be, this means you could potentially end up with the nail snapping as the strength isn’t there. The easiest way to avoid all of these problems is to create a thin clear sculpted extension and then place pink and white Polygel on top.
I have read a few people have had problems with longer extensions using Polygel. Personally I think it works great for longer length nails and I definitely find it easier due to the free reign of time it gives you. I have not had a problems with them breaking or coming away, so can only think that the problem was with their application.
Moulding time is a bit trial and error depending on the length and shape required but I usually it seems to be around 10 seconds.
Durability
I have been over the moon with the longevity and durability the Polygel provides. 84% of my treatments (statistic between 1st April – 31st July 2017) now use Polygel, be it for extensions or overlays. All of my hard gel clients have switched over and all bar 2 of my acrylic clients also switched and the only reason they didn’t is because they have acrylic design. My application and infill times have been reduced as there is very little lifting, which means very little filing. I think the flexibility of the product allows the nails to move underneath a little so lifts less, but this is just speculation on my behalf. It has meant that for many clients they now only need to come in once a month instead of every 2 weeks. And still there is very little lifting if any.
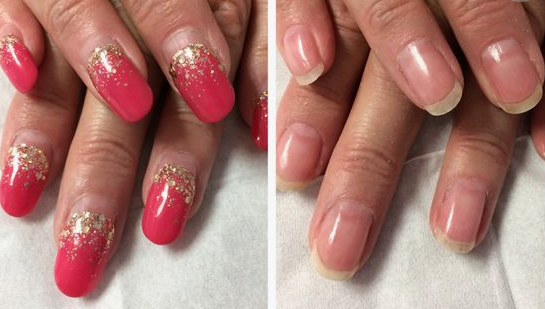
Removal
This is a buff off only product, although if you file the bulk down you can sometimes soak the remainder off alternatively I know some people apply Gelish foundation first to aid in soak off removal but I haven’t tried this. I haven’t had any problems with removal as the product is so easy to file that I haven’t needed to try them. What’s also great about this product is that the dust falls to the mat and does not fly up and linger in front of you and your client so less inhalation of product occurs.
Costings & Timings
This is a costly product especially here in the UK with import costs and various other factors. However with the release of the single items being available at Sallys Salon Services this means that the products will now be available VAT free saving a whopping 20% on specified days and I imagine Nail Harmony UK will also offer this as well, although I can not say for definite. But below are 2 different tables showing the costings pre vat (assuming you have the sense to buy it at those times).
The timings are based on how long it takes me to do the treatment. All of my clients (unless artwork is required) are booked out for 90 minutes allowing me to try and perfect and improve or any potential problems or he odd nail repair that maybe required.
* Tips takes me longer as I do not do them very often and isn’t my strongest area.
** As my clients now get longer out of their nails without any lifting, a few get board with the colour or design so I offer a refresh where by I just change the Gelish colour on top without infilling within the first 13 days.

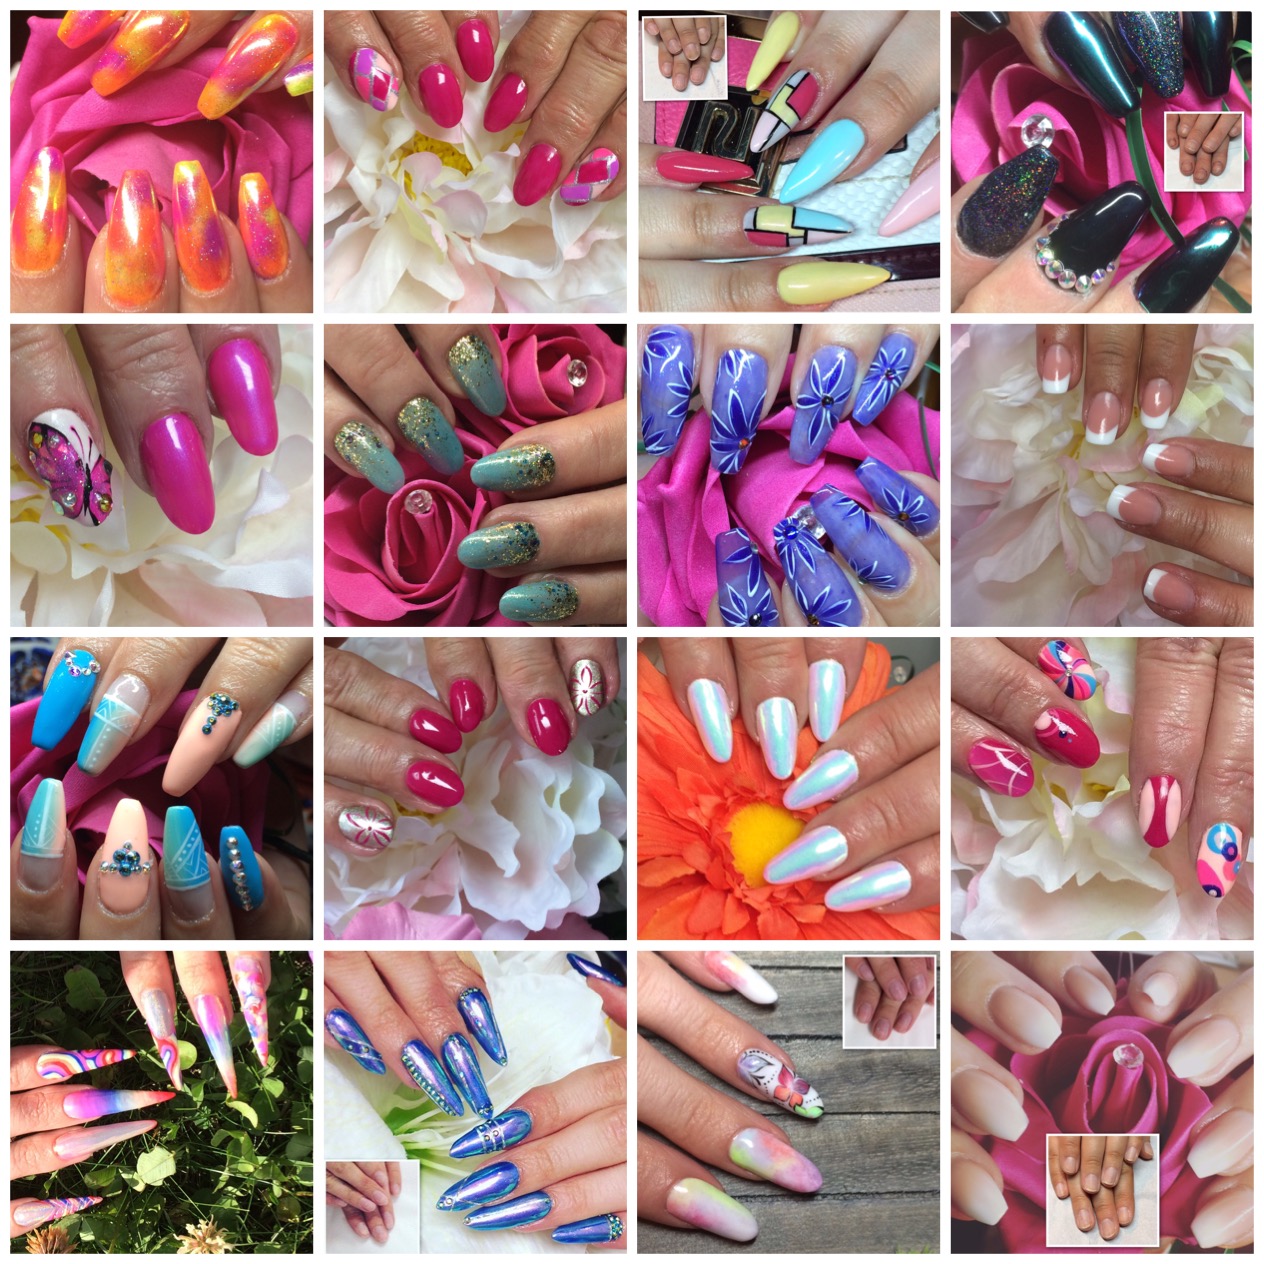
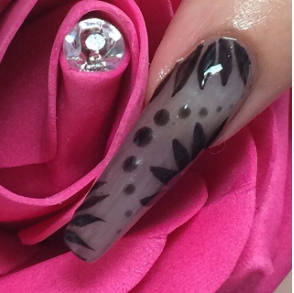
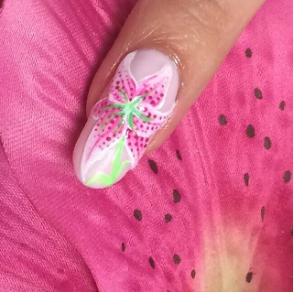
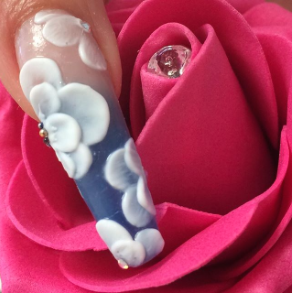
Art & Design
As mentioned above there are only a few colours, but you can mix in Gelish gel polish, pigments of glitters depending on the end effect you are after. But at the moment this product doesn’t offer the variety of designs achievable like an acrylic would.
Availability & Training
On its release here in the UK you could only buy the kit if you paid upfront for full training, which depending upon your experience was either 2 days or 2 days plus a nail essentials training which is usually half a day. Now that quite a few techs here in the UK trained and brought the kits and the release of Polygel around the world the market has opened up here and non trained members are able to purchase Gelish Polygel through Sallys and Nail Harmony UK without training. All trained Polygel technicians will have a window sticker and training certificate to prove their qualification and although simple to use in order to be insured using the product you must attend a training so contact Nail Harmony to find out who your nearest educator is.
I hope some of you find this helpful. Both myself and my clients love it and I am sure you will to. If you have any questions please feel free to drop me a message or if you want to check out some more of my Polygel nails then find me @elysiasharmony on instagram, twitter, facebook or pinterest. Happy Nailing 🙂