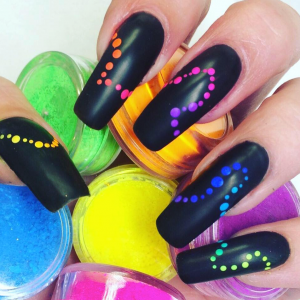
Repairing Abused Nails

Hi all – thanks for clicking the link and giving this a read. Initially I was going to create a before and after for my “Nourishing Nail Treatment” but as is my way, have ended up going a bit OTT crazy, so heres a bit more detail about what I did and why.

In short the treatment covers: consultation, dry cuticle preparation, IBX Repair treatment, IBX Strengthening treatment, gentle file and shape, apply cuticle oil and massage to finish.

Clients – just know theres a lot of information below and that this treatment works wonders.

Fellow Nail Techs – read on there is so much great information here, plus a little something which I feel we should set a trend with ha ha 🙂 #desquamies

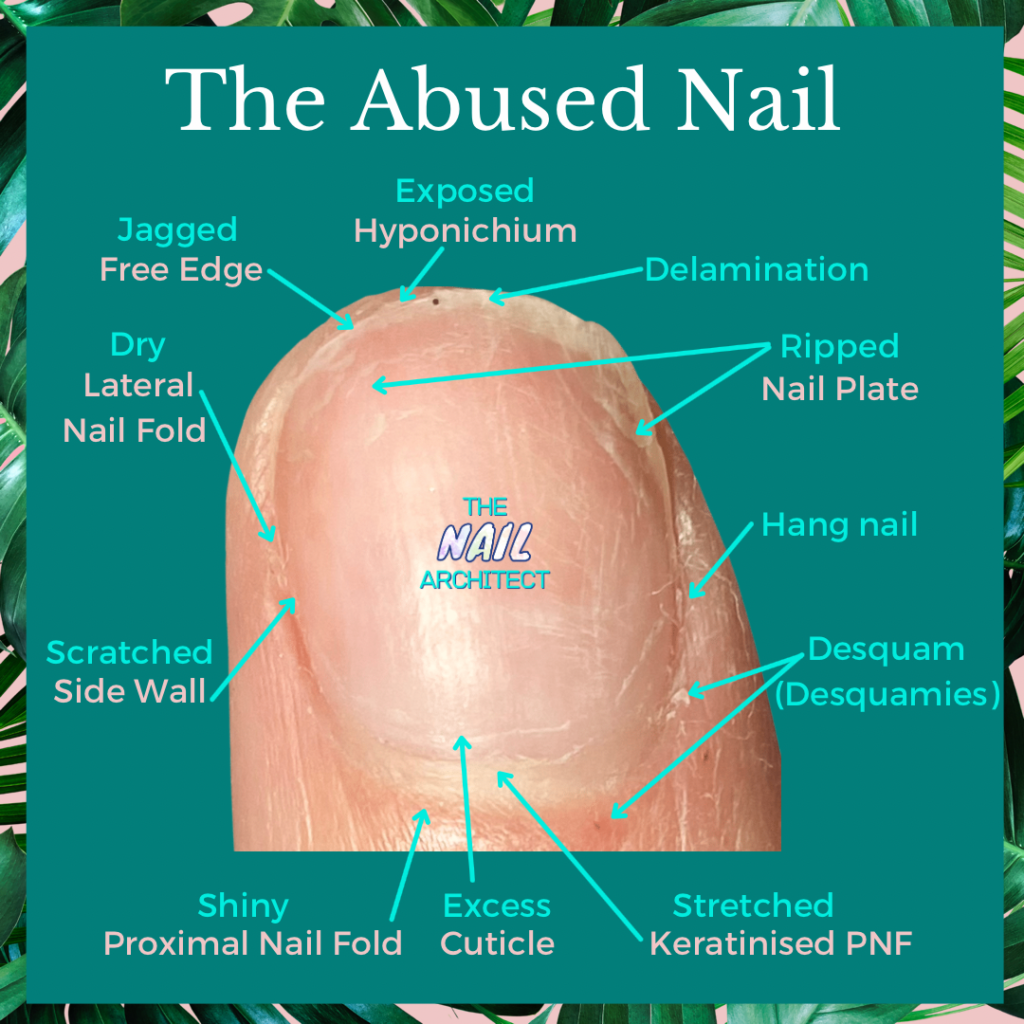
Heres what we started with:
Abused nail

The light pink writing shows the actual label and the turquoise the problematic characteristic.

Excess Cuticle – this isn’t a problem in its self. Many people have cuticle that grows very far up the nail. Cuticle tissue is absolutely needed as part of the nail as it protects the soft nail plate as it grows up and out underneath the nail fold. It acts as a seal to stop any pathogens like bacteria getting into the body. However it is absolutely no use to leave it there and apply product on top of it, why, because it will cause the product to lift and gives a very un even finish. The excess cuticle tissue on the nail plate needs to go, but needs to remain intact under the PNF in order to keep the seal and protection in place. The other detrimental cause it has is that by growing too far up the nail plate it drags the keratinised proximal nail fold with it. Read on to find out more…

Stretched Keratinised Proximal Nail Fold – this is an interesting section. The keratinised PNF is a relatively new addition to be studied in the nail anatomy world. It has been proven and decided by the likes of Doug School and Vitaly Solomonoff that this is still part of the PNF as a result is living tissue. So where as we once thought we could remove it without any damage – we were wrong! It is the stratum corneum of the proximal nail fold thickening its self with more keratin in order to protect the rest of the PNF from damage. The more damage you do to the PNF the longer the cycle of keratin production will be. So, what not to do is cut it. Instead we push it back and remove any excess remaining cuticle tissue thats attached and oil regimentally. If we do this for at least 40 days we can break the cycle (which leads on to my 40 day cuticle challenge, not discussed in this blog). This means that the keratinised PNF is adding another element of protection to our nail structure and although we want to keep it as thin and supple as possible by letting the cuticle over grow as above it is stretching the keratinised PNF which can lead to more keratinisation (hardening) making it harder to push back and reduce with regular oiling. It also means that the rest of the PNF is stretched and flattened, which leads to…

Shiny Proximal Nail Fold – by the PNF being flattened and stretched from the cuticle and keratinised PNF the stratum corneum of the PNF becomes thinner and shinier. You’ll notice it also seems to become more red. Once the stratum corneum of the PNF can’t stretch any more it rips and tears. Which leads to …

Desquarm (Desquarmies) – well you will have never heard of these before. The simple reason being is that they don’t actually have a specific name. Most people will call them hang nails, however as they are not hardened skin or occurring at the lateral sides of the nail plate, they (in my mind) simply can not be classed as hang nail. So what exactly are these annoying bits of peeling skin? I’d like to say simply put, but that would be stretching the truth a little (get stretching the truth / stretching the PNF, I have to make myself laugh). They are the result of desquamation of the stratum corneum. Which means the peeling of the top layer of skin. This is why I have come up with the term “desquam” singular or “desquamies” plural. It just sounds so much fun to say, ha ha. So whats the solution? Well this hurt a lot when caught, like paper cuts, oh so painful for such a little thing. Any desquamies around the dorsal end of the nail plate need to be trimmed. Then to make sure the problem doesn’t keep re occurring you guessed it, you need to oil regularly.

Hang Nail – This is a piece of hard skin found to be peeling away at the lateral side walls of the nail plate. I often find clients pick at these, which hurt like heck but then also rip further down causing bleeding and again opening the nail plate and body up to infection. It is important to carefully trim this down and oil like crazy to avoid this from reoccurring.

Ripped Nail Plate – now admittedly I caused the rips on the left hand side of the nail plate to show why you should not rip, bite, pull or forcibly remove nail products from the natural nail. I feel clients like this visualisation so they can clearly see. In the grand scheme of nail rips through through the above these are fairly minor and how clients can do this to them selves is beyond me as it blinking well hurts. Clearly you are ripping you natural nail plate apart, weakening it which can lead to all sorts of problems which I won’t go into now. The other rip on the right hand side is from me actually doing manual labour and catching it. This is too low to remove without damaging my nail. So again IBX repair treatment can help fuse these rips and tears back together giving the nail plate its much needed strength back, whilst providing a smoother surface for us to work on.

Delamination – There is only a small amount of delamination on the nail which is good news. This occurs when the top layers of nail plate separate from each other and make the nail very flimsy. The IBX repair treatment works wonders for this as it fuses together the top layers. We are then able to shorten the nail and allow it to grow out. Previously techs have been taught to file the delaminated layer away, however this obviously leaves the nail weakened and by allowing the two parts to rejoin again provides more strength for the nail. Keep oiling so that the nail plate does not become dry and brittle and lessens the chance of it splitting again.

Scratched Side Wall – We want the nail plate to be as healthy as possible. I had not intended to scratch the nail plate and side walls as much as shown in the picture but re organising the attic and moving half my daughters bedroom around meant I was bashing them and scratching them all over the place. The good news is I cam use IBX repair to fill in the scratches. Without this my nail plate would be left thinner and weaker which is not ideal. Do also remember that its only the top 10% and bottom 10% of the nail plate that is particularly firm. So if you scratch off too much your going to be in pain and a whole world of trouble as nail products won’t stick as well to it.

Exposed Hyponichium – As we hopefully know the hyponichium is one of the seals that protect bacteria from getting between the nail plate and finger at the free edge. When nails are broken this can often rip or tear the hyponichium opening it up to infection. In this instance the seal hasn’t been broken as such, as the nail hasn’t ripped too far down. However as my fingers are usually to be found with long nails I usually have quite a high hyponichium so when they do break this becomes exposed and is very sensitive. It has also become dry due to a lot of hand sanitiser and a lack of oil which it would usually get from the nail plate. The best thing we can do it to hep keep it hydrated whilst the nail grows back up again and the best way to do that is by using an excellent quality cuticle oil. Things not to do are push it, cut it, rip it, bite it (oh yes I’ve seen people do that) or try to adjust it. Simply leave it alone and oil.

Jagged Free Edge – the free edge of the nail in this instance has been caught, snagged and ripped making it very jagged. This is turns means that it catches on more things and rips some more. But as we’ve seen the hyponichium has already been exposed, to break the nail further would quite likely cause bleeding, leading to us once again opening our bodies up to infection. The solution is easy, use a 240 grit file to gently shape. No fast see saw actions please. Then finish in a downward motion to seal the free edge

Dry Lateral Folds – So many of us are getting over dried lateral folds at the moment. We usually see this more in the winter months due to the cold, however with the added constant use of hand sanitiser we are seeing it more. Its not overly a problem but can lead to more hang nails which is not ideal. Can you guess what the solution is…? OIL

So now we see all the problems that this nail has, it’s time to fix it. The above would all be noted by taking a picture and attaching it to my clients file so we can see where we started during the consultation. (As mentioned I have purposely abused this nail for demonstration purposes. I did consider over filing, but the potential ramifications of that one seemed too great to add into this mix and will probably be discussed another time.)

Following the consultation (assuming we can continue with the treatment) I tidy up the cuticle and PNF area (there will be a later blog on different ways of prepping in the upcoming weeks). This is then followed by the IBX repair treatment ensuring that the top layers of nail plate are fused together to allow a stronger smoother surface. The IBX strengthen treatment is then applied to allow further strengthening into lower layers of the natural nail plate. The more this step is carried out the stronger the end result will be. However it is not recommended more then once per week. (I repeat this step again at the first treatment.) Once Ive strengthened up the nail plate I gently file to shape and apply cuticle oil. A massage is then performed to give an extra level of hydration and luxury for the client.

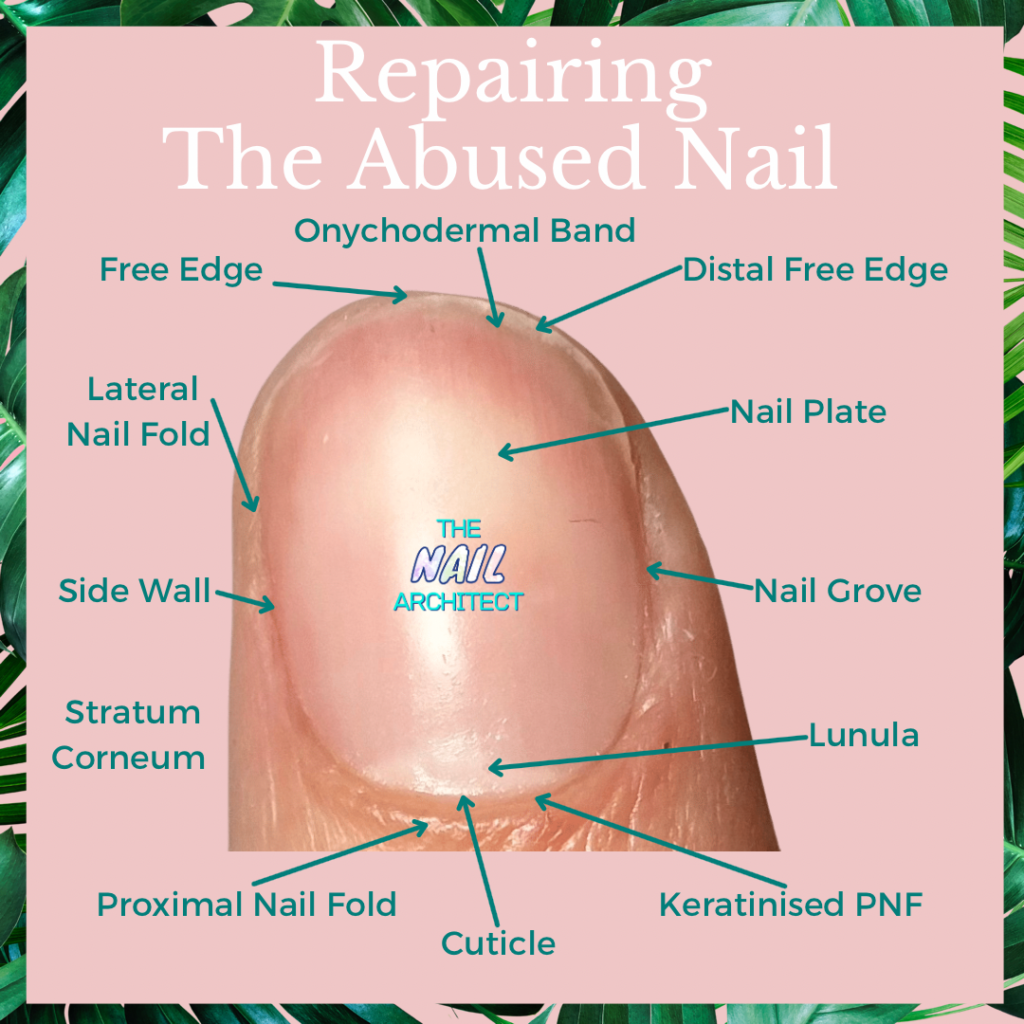
Heres the results:
Repairing the abused nail

As you can see the scratches have been repaired and even the tear has been fused back to the nail plate, I would recommend a further treatment be added to give it strength whilst it grows out further. The cuticle has been removed from the exposed nail plate and both parts of the PNF have been pushed back leaving a healthy strong keratinised PNF. You can now see just how over grown the cuticle was due to the exposure of the soft Lunula. The stratum corneum around the nail fold and PNF has now reduced in shine and redness. But most importantly the nail structure is now well hydrated.

In summary – OIL, OIL, OIL 🙂

I hope youve found this helpful. Come back next week for another blog. 🙂
The Nail Architect Goals for 2021

So I love New Years and Mondays? Why you ask, well because it feels like I have the ability to change my life. If you’ve read my last blog you will know that I feel there has been some great positives in the last year. This has hopefully given me a great basis to go into 2021 with glitter and gusto. My quick aims are below, with a bit more information further on to explain them.

  1. Enter more nail competitions
  2. Helping other techs stay motivated and improve their skills
  3. Expand my business in Bridgwater and get my new room perfect
  4. Improve my social media following
  5. Add to my skills and keep learning as much as I can

1. Competitions

Well this is a resolution that I love. I am a very competitive soul and always have been. But this doesn’t mean I compete against those around me, we all have different strengths and weaknesses, I compete against myself. I enter the competitions not with a view of winning, obviously that would be great, but my aim is to just improve upon my score. It doesn’t matter if I come last as long as I learn and can improve for next time. I came last in my first ever competition in gel polish, listened, learned, practiced and 3 tries later I achieved my first 1st place.

I have never entered the Nailypics, it seems something is always conspiring against me at the beginning of October so I’ve managed to enter. This year however its online and I’m going to give it a go. Fingers crossed.

The other one I really want to “nail” is the Scratch Star Awards. Ive entered this one 4 times previously to no avail, but I really want to add this to my trophy collection, so Scratch if your reading this, I’m giving it my best shot this year.

2. Helping Techs

I’ve been qualified as an educator for 3 years now, as yet I don’t feel I’ve pushed myself in to this area much. I trainined to be one of the IKON.IQ educators in October 2019 but again due to the pandemic have just not made full use of this, so watch the social media for more details on this one, or PM for further details.

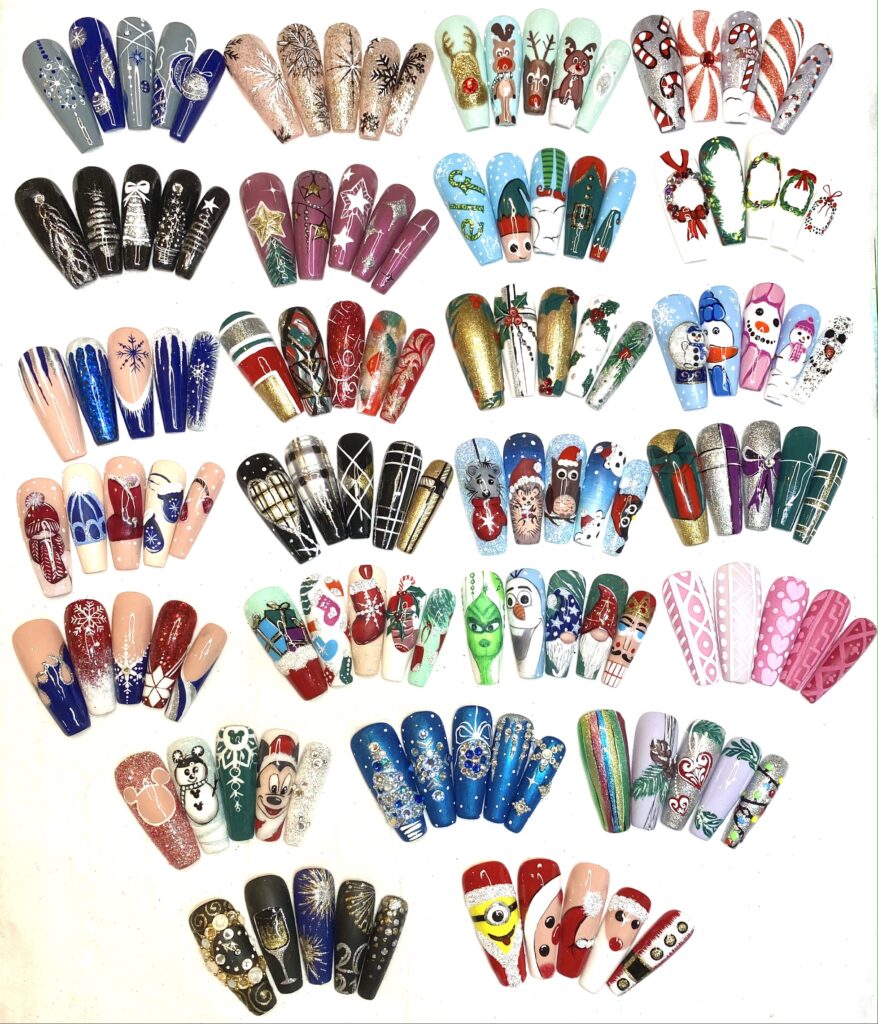
I really enjoyed the Christmas Nail Art course I ran in November and this has given me the bug to offer training that’s more accessible for nail techs. With this in mind I have developed “The Nail Artitech” and “The Nail Architect” which offer both structure and design aspects for nail techs. These will help build confidence, skills and pictures for fellow nail techs to keep their social media inspired and beautiful.

3. Expand my business

This is a very vague heading but what I mean in this instance is trying to focus on clients in just one area. Previously working in the salon in Castle Cary, at my home in Bridgwater and then mobile as well it was hard to market in three different areas. So now I can really focus on building my nail business in Bridgwater whilst emphasising my new long nail niche in the area, plus the extra time will also mean I can teach more.

4. Social Media

For me this is one I really struggle with. Social media is a full time job and one which I simply have never been massively interested in. During the first lockdown I neglected it completely and I am now suffering the consequences, so have to work doubly hard. I am going to try and change my mindset on this one and want to get my instagram following up to 10,000. This is a massive goal as I currently only have 124. But I’m aiming high. Im also going to hopefully try youtube and TikTok, which are currently 0, so watch this space ha ha.

5. Improving My Skills

I feel I didn’t really work on my technical skills during 2020 so really want to improve this for 2021. The main areas I want to work on are one stroke, pink and white competition nails, and a few other art techniques.

So I feel there is a massive amount to be working on here, so fingers crossed I will get through it all and watch this space to see how I get on in 2021. Have you got any goals for 2021, please comment and share them below. 🙂
Happy New Year to you all 🙂
Reflection on 2020

I know that many people have struggled this year with the Pandemic, but in reflection I’ve had some great positives over the year and can’t wait to get stuck in to 2021. My top perks are:

1. Setting up my first online training for the festive season. The Christmas Nail Art group got nearly 50 members in November which I am really pleased with, you will be able to see more information on this in the Christmas Nail Art blog.

2. Having my own space. This one is a little bitter sweet as I gave up working at Heidis Salon in Castle Cary to do it, but I now have my own dedicated space with all my amazing products and equipment to hand. Its also set up to cater for students with their very own desks and kit. Although as yet I have not used this due to the current climate. Fingers crossed for 2021.

3. Rebranding my business to The Nail Architect. This has been a hard one for me, and I am amazed at how long this has taken and I’ve still not got it all right. My name has treated me well the last few years and obviously I can’t get away from being Elysia Harmony, but I feel rebranding myself as The Nail Architect is definitely a step in the right direction. I love my new logo and it tells clients exactly what I do. Plus has been great for helping me set up my Nail Art & Architecture group where I share the love for all things nail length and design, plus being a great platform to launch my new online courses.

I’m so excited about the year to come and can’t wait to get stuck in. Check out my next blog on my goals for 2021.

Nail Architect Online Courses Launching in January 2021

Woo hoo, I am sooooo excited to launch my new online training courses in January 2021.

There will be two different types of courses running each month in both nail art and structure. Do you want to:

Build your confidence?

Take pride in the designs you create?

Expand your knowledge?

Create nail extensions that last and look great?

Offer different shapes for your clients?

If you answer yes to any of the above then you need these courses in your life.

I have set up a great new facebook group where loads of information will be released and updated called “Nail Art & Architecture

Offer online nail art and design training via facebook groups. You can join the “Nail Art & Architecture Group” where you can see details about both courses and whats being covered each month. Plus the added bonus of 2 free tutorials in the group each month as well.

Nail Artitect Courses

courses then offer an additional 4 tutorials per month for just £20 which covers 4 different tutorials taking you from quick beginner designs that you can level up into more complicated and advanced creations. Alternatively you can pick and chose the tutorials you want to learn and pay as you go for £10 each.

You can find more information in the “Nail Art & Architecture Group” or read about them in the blogs.

Nail Architect Course

Each month we focus on a different nail shape ranging from square, to lipstick to edgy stilettos. We look at how to create the shapes in not only different product mediums but also how to adjust for different lengths and natural nail shapes. You can join in at any time and will have life time access to the courses and group.

January – square, squoval, tapered 

February – pipe 

March – ballerina and Marylin

April – lip stick 

May – stiletto 

June – salon and modern almond 

July – Russian and gothic almond 

August – Russian stiletto 

September – edgy stiletto 

October – edge 

November – extreme surprise – Christmassy

Keep up to date with further details by subscribing and doing the group.

Gelish Polygel Review

I’ve been meaning to write up my review of Gelish Polygel from Nail Harmony for a while now. We were lucky enough here in the UK to be able to see it first with its international launch being at the Professional Beauty Show in London on the 26th February 2017. With me being the complete addict that I am I had to be first in line to get this amazing new product.

1st ever polygel sale

I have prattled on quite a lot below, so for those of you who don’t want to read everything here is my quick synopsis. Please note this is from my experience and views on the product and not that of Gelish or Nail Harmony.

Pros

  • Lightweight – nearly 25% lighter then acrylics
  • Smells pleasant – no monomer required
  • Flexible
  • Durable
  • No heat spikes – as long as you apply correctly
  • Endless play time
  • Easy to file – dust falls downwards

Cons

  • Can heat spike if incorrectly applied
  • You cant guarantee pink and white designs are cured right the way through especially if you are using non clear forms to sculpt.
  • Can be tricky on extreme nail biters

Top Tips

  • Wet your brush in slip, wipe both sides on the dappen dish, then lightly on to couch roll to get the correct amount.
  • When apply to all 5 or 10 fingers flatten the thumb bead out slightly first to avoid it moving onto the skin.
  • Use a 240 file or well used 180 around the cuticle area to get a flush smooth finish
  • Don’t use forms when extending nail biters
  • Pinch at 10 seconds
  • Flash cure at 5 seconds to guarantee minimal heat spiking
  • Keep away from skin to avoid any lifting

What to avoid

  • Using too much slip can cause lifting and heat spikes
  • Using too much product so that it is under cured
  • Getting the product in the skin will almost guarantee lifting.

Random things I’ve noticed

  • If you’re mobile and you kit is left in a very hot environment like a car, then the product gets lots of air bubbles in it, which takes longer to apply and remove bubbles so try to avoid it.


What Is Gelish Polygel?

Polygel is a new bread of nail extension product. It has been designed, tried and tested in US by Danny Haile and his team to create the ultimate overlay and extension product. It is meant to take the best of both hard gels and acrylics and combine them. It has been created using tri-polymer technology which includes oligomers from gels, polymers from acrylics and polymers from lacquer which gives the product a putty-like viscosity. It is this tri-polymer technology that provides for an easy application, allowing you to work at your own speed to create flawless nails every time.

Polygel master kit

The product its self is then squeezed out from a tube, sliced, and rolled onto the nail. It is said that the product will then sit on the nail until you move it. Although this is mostly true, I do find if I apply to all 5 or these days in most cases 10 fingers at the start, the thumb beads do move due to gravity and have the potential to go on the skin which messes with the longevity of the product not to mention starting the whole over exposure issues. To avoid this I simply pat the thumbs down every so slightly before starting on the little finger and working my way through.

Squeeze polygel colours

The Polygel is moved around the nail by a product called slip. Now unlike a standard liquid and powder application there are no active ingredients in the slip. This means you don’t actually need the slip for the product to work, it is just there to make your life easier and help the brush literally slip over the product instead of getting stuck and gloopy.  Now I still offer nails to a few mobile clients and I did once manage to forget the slip. So knowing that actually I didn’t need it for the product to work and I only needed the tiniest of bits I decided to use cleanse. Now I am in no way recommending you do this, and quite frankly I don’t think insurance would cover you if you did, but it worked and my client got her usual months wear out of the product with absolutely no lifting when I came to re do them – panic over. But the slip does have a pleasant scent of watermelon and cucumber allowing for even those with discerning noses to use the product. From my point of view it’s great as I still offer evening appointments at my home and no longer have the strong chemical acrylic smell and therefore a family who whine at me, but instead a pleasant smelling home where no one even knows when I am creating beautiful extensions.

Polygel is currently available in 6 colours:

  • Bright white
  • Soft white
  • Natural clear
  • Light pink
  • Dark pink
  • Cover pink

These can give a great pink and white finish or easy infill to be able to easily see the condition of the natural nails underneath. I do hope going forward Gelish release a few new colours, ie a few other cover pink shades and a crystal clear. I have encapsulated using both the dark pink and the natural clear polygel, however this tones down the sparkle and shine of the glitters. Chunky glitters work ok but fine powders look matte.

Application Process

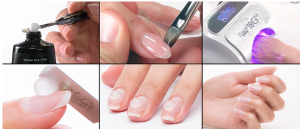
With any extension or overlay product preparation is key, so make sure the nail plate is clean and neat and apply the ph bond and pro bond (making sure to avoid the skin, only a small amount is required). You then use their tag line “squeeze, slice and roll” to remove the product from the tube with a metal slicing tool and place the bead on the nail plate. As mentioned above you can do this on all 5 or 10 fingers at once to save time (but I do recommend quickly patting the thumb beads down before actually perfecting the product application.

You only need the smallest amount of slip on the brush, so dip it in to the dish, wipe on both sides and then wipe on your couch roll or napkin what ever you use and then use it to move the product around the nail. Although the product is marketed with no heat spikes if you apply too much Polygel or use too much slip on the brush you will end up with heat spikes. Also out of habit I flash cure for 5 seconds just so clients do not experience this.

Polygel application

If you are new to extensions start by using the tips, this will give you a base to apply to and makes applications such as pink and white or baby boomers much easier. I would also recommend you cure the cover pink and the whites for 1 minute as opposed to 30 seconds.

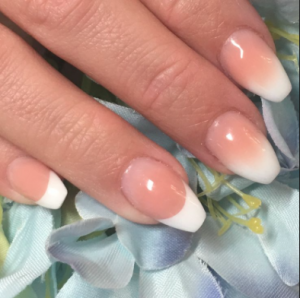
French and baby boomer on day 2 of training
French and baby boomer on 2nd day of training

If you are going straight into pink and white or baby boomers on sculpted forms, if you are not using a clear from then you are running the risk of the product under curing. Now although I have done both and do do both there’s a few points to watch out for. First once applied and cured for 30 seconds, remove the form and turn the hand so the palm is upwards, chances are you will have stalagmites of Polygel on the underside of the nail, you can then wipe these flat with the brush and replace the hand normally in the lamp so the underside is cured using the mirrored base of the 18G lamp. As long as your application was thin this should be fine. If however your application has been too thick both the top and bottom the Polygel will appeared cured but the middle wont be, this means you could potentially end up with the nail snapping as the strength isn’t there. The easiest way to avoid all of these problems is to create a thin clear sculpted extension and then place pink and white Polygel on top.

I have read a few people have had problems with longer extensions using Polygel. Personally I think it works great for longer length nails and I definitely find it easier due to the free reign of time it gives you. I have not had a problems with them breaking or coming away, so can only think that the problem was with their application.

Moulding time is a bit trial and error depending on the length and shape required but I usually it seems to be around 10 seconds.

Durability

I have been over the moon with the longevity and durability the Polygel provides. 84% of my treatments (statistic between 1st April – 31st July 2017) now use Polygel, be it for extensions or overlays. All of my hard gel clients have switched over and all bar 2 of my acrylic clients also switched and the only reason they didn’t is because they have acrylic design. My application and infill times have been reduced as there is very little lifting, which means very little filing. I think the flexibility of the product allows the nails to move underneath a little so lifts less, but this is just speculation on my behalf. It has meant that for many clients they now only need to come in once a month instead of every 2 weeks. And still there is very little lifting if any.

Removal

This is a buff off only product, although if you file the bulk down you can sometimes soak the remainder off alternatively I know some people apply Gelish foundation first to aid in soak off removal but I haven’t tried this. I haven’t had any problems with removal as the product is so easy to file that I haven’t needed to try them. What’s also great about this product is that the dust falls to the mat and does not fly up and linger in front of you and your client so less inhalation of product occurs.

Polygel removal after 6 weeks

Costings & Timings

This is a costly product especially here in the UK with import costs and various other factors. However with the release of the single items being available at Sallys Salon Services this means that the products will now be available VAT free saving a whopping 20% on specified days and I imagine Nail Harmony UK will also offer this as well, although I can not say for definite. But below are 2 different tables showing the costings pre vat (assuming you have the sense to buy it at those times).

The timings are based on how long it takes me to do the treatment. All of my clients (unless artwork is required) are booked out for 90 minutes allowing me to try and perfect and improve or any potential problems or he odd nail repair that maybe required.

* Tips takes me longer as I do not do them very often and isn’t my strongest area.

** As my clients now get longer out of their nails without any lifting, a few get board with the colour or design so I offer a refresh where by I just change the Gelish colour on top without infilling within the first 13 days.


Costings Polygel Wd

Art & Design

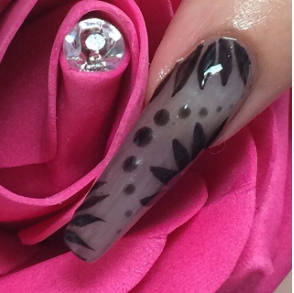
As mentioned above there are only a few colours, but you can mix in Gelish gel polish, pigments of glitters depending on the end effect you are after. But at the moment this product doesn’t offer the variety of designs achievable like an acrylic would.

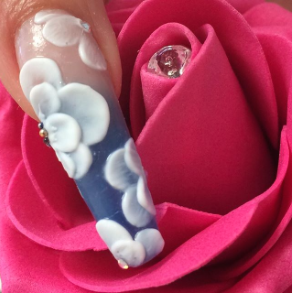
Black art 3d Lily Blue fade with flowers

Availability & Training

On its release here in the UK you could only buy the kit if you paid upfront for full training, which depending upon your experience was either 2 days or 2 days plus a nail essentials training which is usually half a day. Now that quite a few techs here in the UK trained and brought the kits and the release of Polygel around the world the market has opened up here and non trained members are able to purchase Gelish Polygel through Sallys and Nail Harmony UK without training. All trained Polygel technicians will have a window sticker and training certificate to prove their qualification and although simple to use in order to be insured using the product you must attend a training so contact Nail Harmony to find out who your nearest educator is.


I hope some of you find this helpful. Both myself and my clients love it and I am sure you will to. If you have any questions please feel free to drop me a message or if you want to check out some more of my Polygel nails then find me @elysiasharmony on instagram, twitter, facebook or pinterest. Happy Nailing 🙂


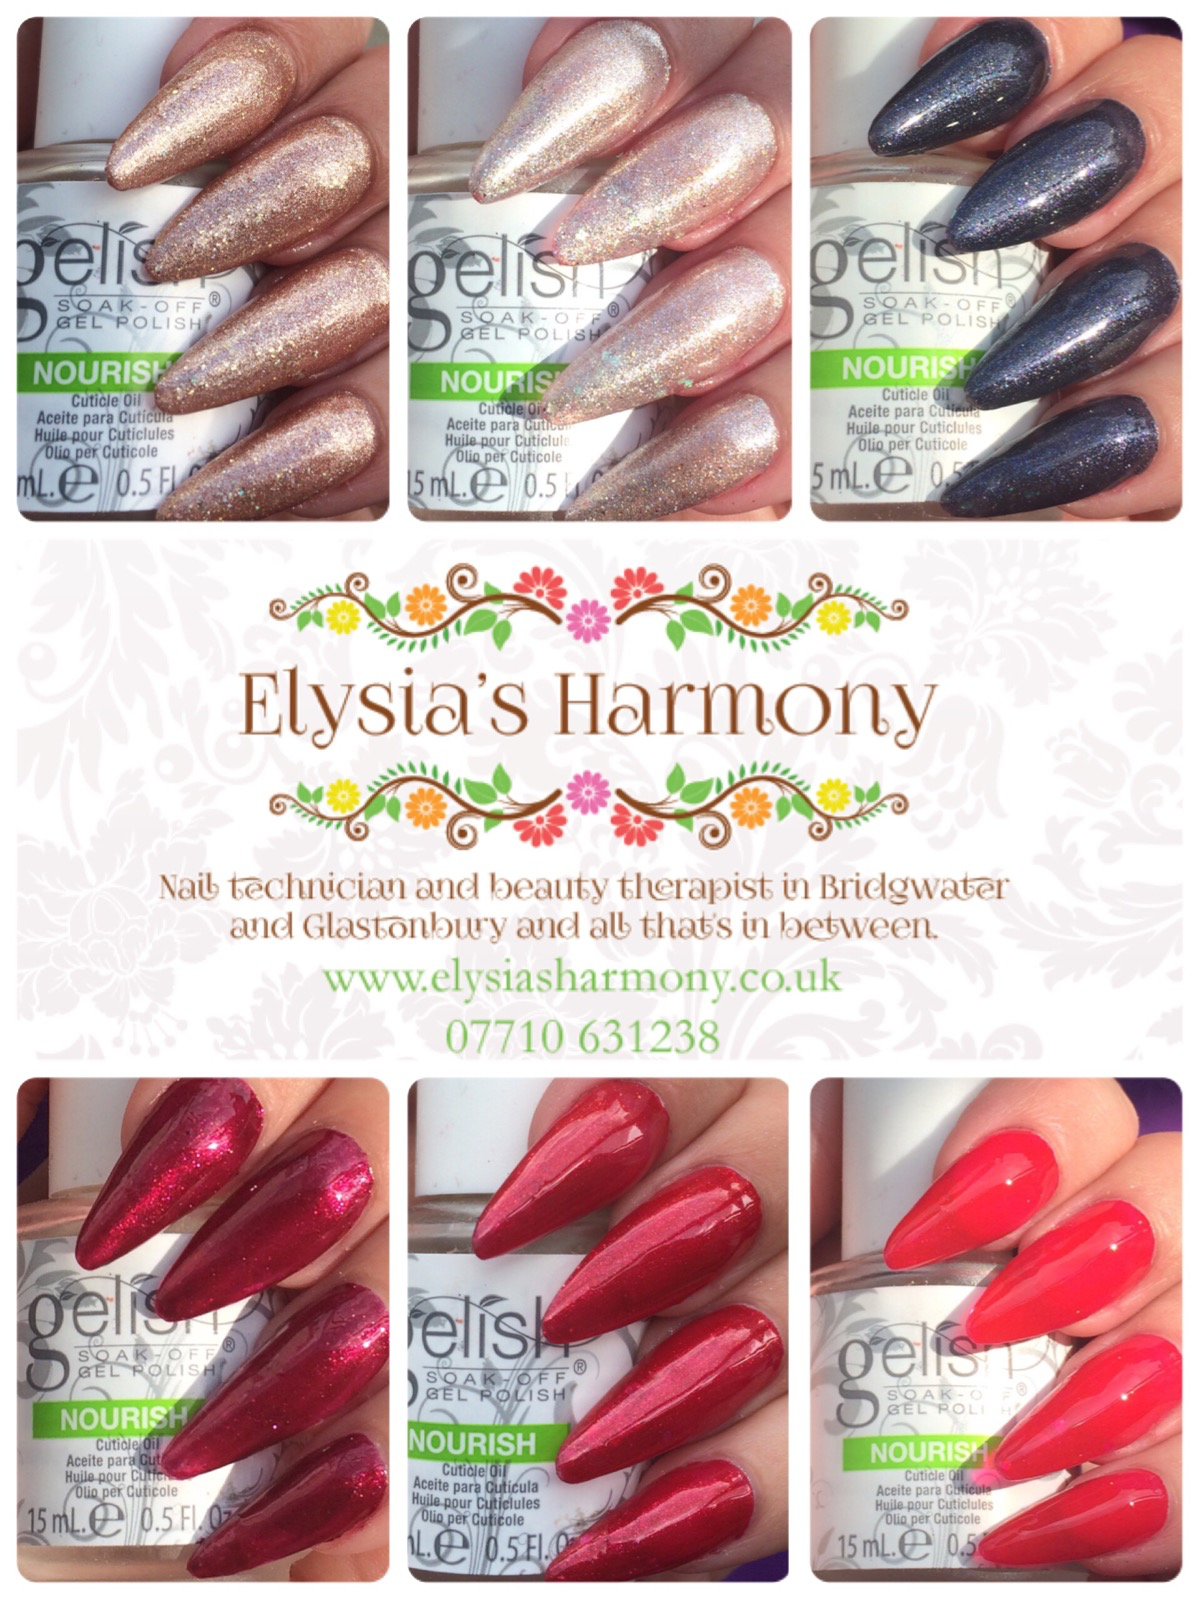
Gelish Wrapped In Glamour – Autumn / Winter 2016 – Just Naughty Enough, Lets Get Frosty, Girl Meets Joy, You’re So Elf Centred, Rocking My Stocking, Who Knows Rudolph

Hello everyone

Well I’m pleased to say Gelish have nailed the application of these 6 shades, each one applying in 2 coats. This Autumn / Winter collection comprises of 3 reds and sparkly rose gold, silver and black / blue.

The colours have been applied over p&w style prohesion and due to the course I’m currently studying stilettos. As per usual the pictures show indoor, led and outdoor lighting. However it has been very gloomy and I have not managed to get any shots in the sunshine so will upload some more pictures further down the line. In the mean time let’s take a look at the colours.

Just Naughty Enough – 2 coats

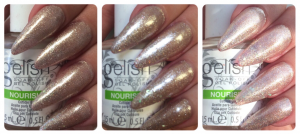
This colour has been marketed as a pink with glitter. On application the gel is a orange bronze (which in its self would have made a great colour), but once cured gives the rose gold colour. It’s in-between oh what a knight and last call but with a bit more sparkly bits.

Just Naughty Enough Lighting On Hands - 2 Coats
Just Naughty Enough Lighting On Hands – 2 Coats

Let’s Get Frosty – 2 coats

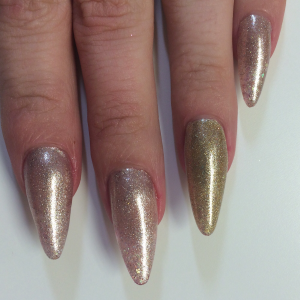
Again applying beautifully, this is bright and light with sparkles of red and pink. Personally I like my silvers to stay silver but a unique colour. When you first apply this colour it looks very gold, however cures to silver. The reason being that the photo initiators in the product show as yellow. Once the photo initiators are used in the curing process the yellow colour is no more.

Lets Get Frosty Lighting On Hands - 2 coats
Lets Get Frosty Lighting On Hands – 2 coats

Lets Get Frosty Uncured Ring Finger

Girl Meets Joy – 2 coats

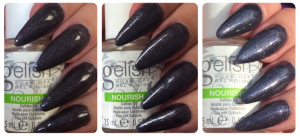
This new colour is a dream and will be great for the partying season. It’s a very dark indigo with blue, purple, pink and silver flecks. Think Angel in disguise on steroids.

Girl Meets Joy Lighting On Hands - 2 coats
Girl Meets Joy Lighting On Hands – 2 coats

You’re So Elf Centred – 2 coats

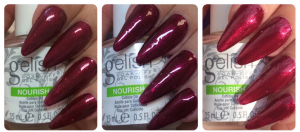
Another fabulous red frost, a little darker but on the same lines as I’m so hot it will be a staple colour. If you don’t have I’m so hot or what’s your poinsettia then a great investment.

You're So Elf Centred Lighting On Hands
You’re So Elf Centred Lighting On Hands

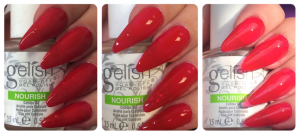
Rocking My Stocking – 2 coats

I love this colour, it’s glittery shimmery lushness. A mix between good gossip and queen of hearts this will be exceptionally popular around the festive season.

Rocking My Stocking Lighting On Hands - 2 coats
Rocking My Stocking Lighting On Hands – 2 coats

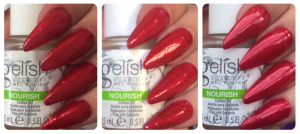
Who Nose Rudolph? – 2 coats

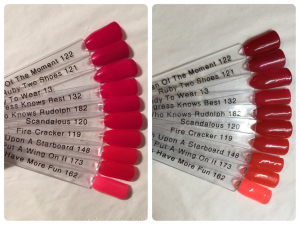
This is a fabulous pillar box red it’s leaning to the bluer spectrum as opposed to orange or pink. I did experience ever so slight shrinkage so be careful to cap the edge. Also there was quite a bit of transfer on to my top it off. To try and avoid this, cure each layer twice and make sure to float the top coat.

Who Knows Rudolph Lighting On Hands - 2 coats
Who Knows Rudolph Lighting On Hands – 2 coats

Matte vs Top It Off Comparisons

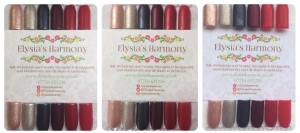
Wrapped In Glamour Collection Swatches

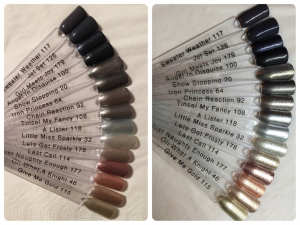
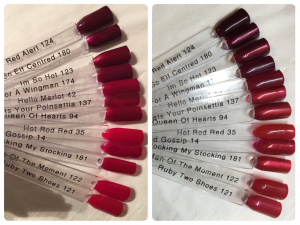
Swatch Stick Comparisons

Wrapped In Glamour - The Sparkles
Wrapped In Glamour – The Sparkles

Who Knows Rudolph Comparisons

You're So Elf Centred & Rocking My Stocking Comparisons
You’re So Elf Centred & Rocking My Stocking Comparisons

Summary

The application of these colours is right on the money. You can see this collection being great for the party season with lots of glitz and glamour. Some of the colours are similar to past releases but will still fly off your shelves. If I were to pick 3 to purchase I would go with girl meets joy, you’re so elf centres and rocking my stocking.

I’d love to hear your thoughts or see any pictures 🙂

Gelish Sweetheart Squadron Collection Autumn 2016 – Up in the air-heart, Perfect landing, Put a wing on it, Looking for a wingman, Oh para-chute, Rule the runway


The latest Gelish collection for Autumn 2016 is the Sweetheart Squadron collection. Available from nail harmony UK as of the 30th July. It consists of 6 fantastically autumnal shades from nudes, to reds and a khaki green. So let’s take a look.

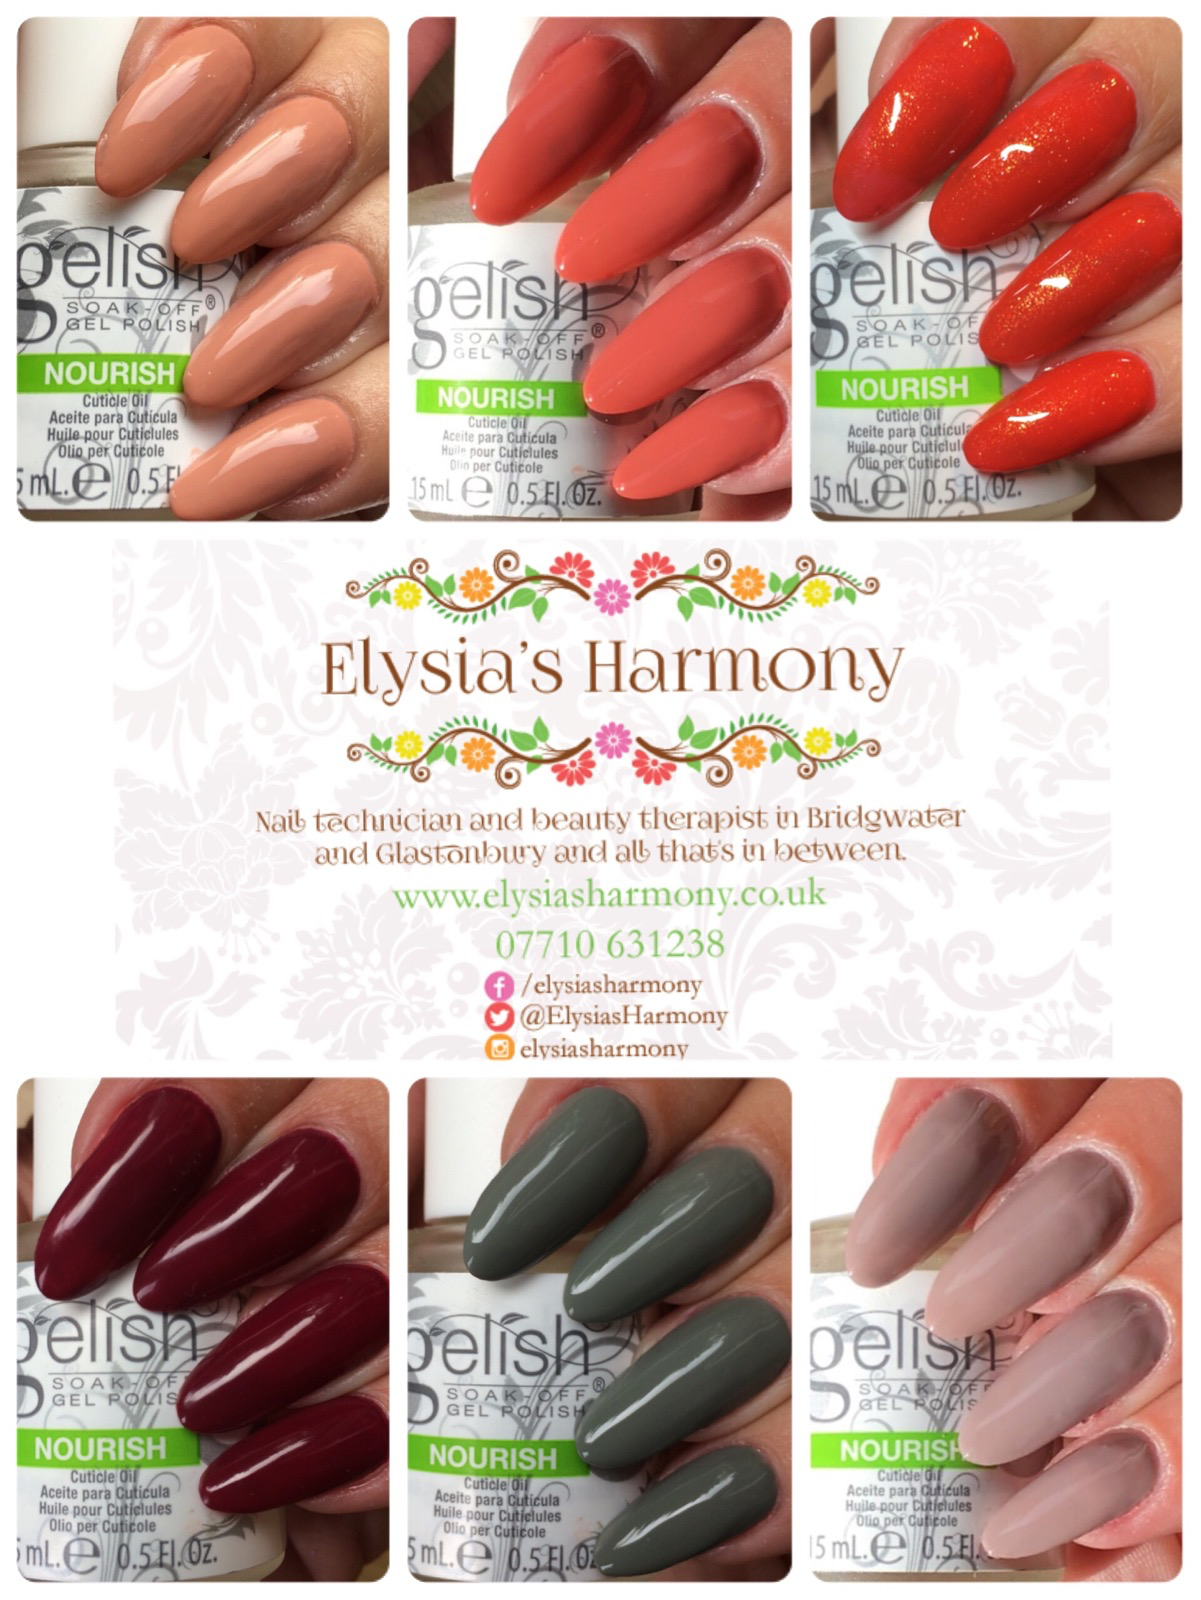
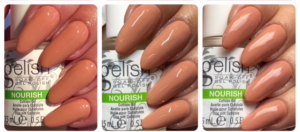
Up in the air-heart – 3 coats

This is a dusky peach colour which will be good if you have lots of clients wanting a nude with a twist. I think it probably suits the more tanned and dark skin tones but if you like it go for it 🙂

Up In The Air-Heart lighting pictures on hands

Perfect landing – 2 coats

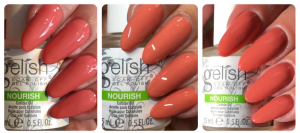
I really like this smoky coral colour, perfect again for those wanting to keep things on the neutral side but feeling a little adventurous. It is fairly similar to others, the new sun kissed bliss and sweet morning dew, but us slightly duskier. It’s been a firm favourite of clients already.

Perfect Landing lighting pictures on hands

Put a wing on it – 2/3

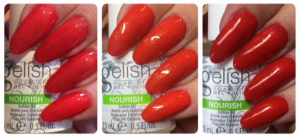
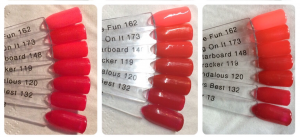
This vibrant red had been given a new twist with a golden shimmer. The pictures above show 2 coats which if you’ve got flawless nails will be more then fabulous. However on mine where I’ve been swatching the other colours you can see where I haven’t quite got all the previous polish off, so don’t cut corners with this one as it is beautiful and applies nicely to.

Put A Wing On It lighting pictures on hands

Looking for a wingman – 2 coats

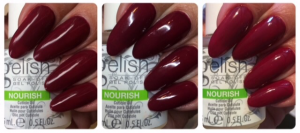
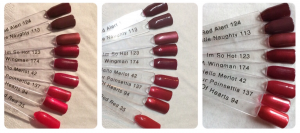
I’m in love with this beautiful rich burgundy colour, it’s truly stunning and I can’t wait to do some beautiful designs with it in the autumn. It’s suitable for most clients professional, mature and young and it applies lovely. I didn’t experience any shrinking or bleeding with this one. I love it. Due to this I’m including the picture below of them whilst I was applying pulsar from the nail space on a clients nails. This will be a very popular combo come Christmas.

Looking For A Wingman lighting pictures on hands

Oh para-chute – 2 coats

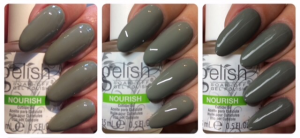
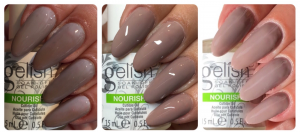
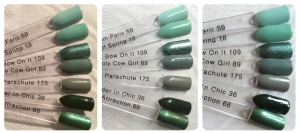
If you’ve been waiting for a khaki green you’ve got it with this understated sage. It applies beautifully in two coats. It is suitably different from holy cowgirl as its got much more of a grey tone.

Oh Para-chute lighting pictures on hands

Rule the runway – 2 coats

Another grey taupe, but it applies beautifully in two coats and is a little lighter then rodeo and I orchid you not, but not an essential.

Rule The Runway lighting pictures on hands

Swatches

Sweetheart Squadron Collection Matte vs TIO

Up In The Air-Heart & Rule The Runway Swatch Comparison Pictures

Perfect Landing Swatch Comparison Pictures

Put A Wing On It Swatch Comparison Pictures

Looking For A Wingman Swatch Comparison Pictures

Oh Para-chute Swatch Comparison Pictures

Summary

The application of these colours are once again great.  With several of these colours set to stay firm favourites. I am pleased that they offers a few new shades to my collection. My top 3 for clients would be perfect landing, looking for a wingman and put a wing on it. Oh parachute is lovely and a bit different but is unlikely to fly off the shelf.

As always I’d love to hear your thoughts 🙂

Gelish Secrets Collection From Nail Harmony UK – Part 1 Pastels, swatches, comparisons, matte and lighting differences. Hidden Identity, Kiss Kiss, Once Upon A Manicure, Picture Perfect, I’m A Wildflower, Made About Mint, A Tribe Called Cool, Sun Kissed Bliss

Hi all.

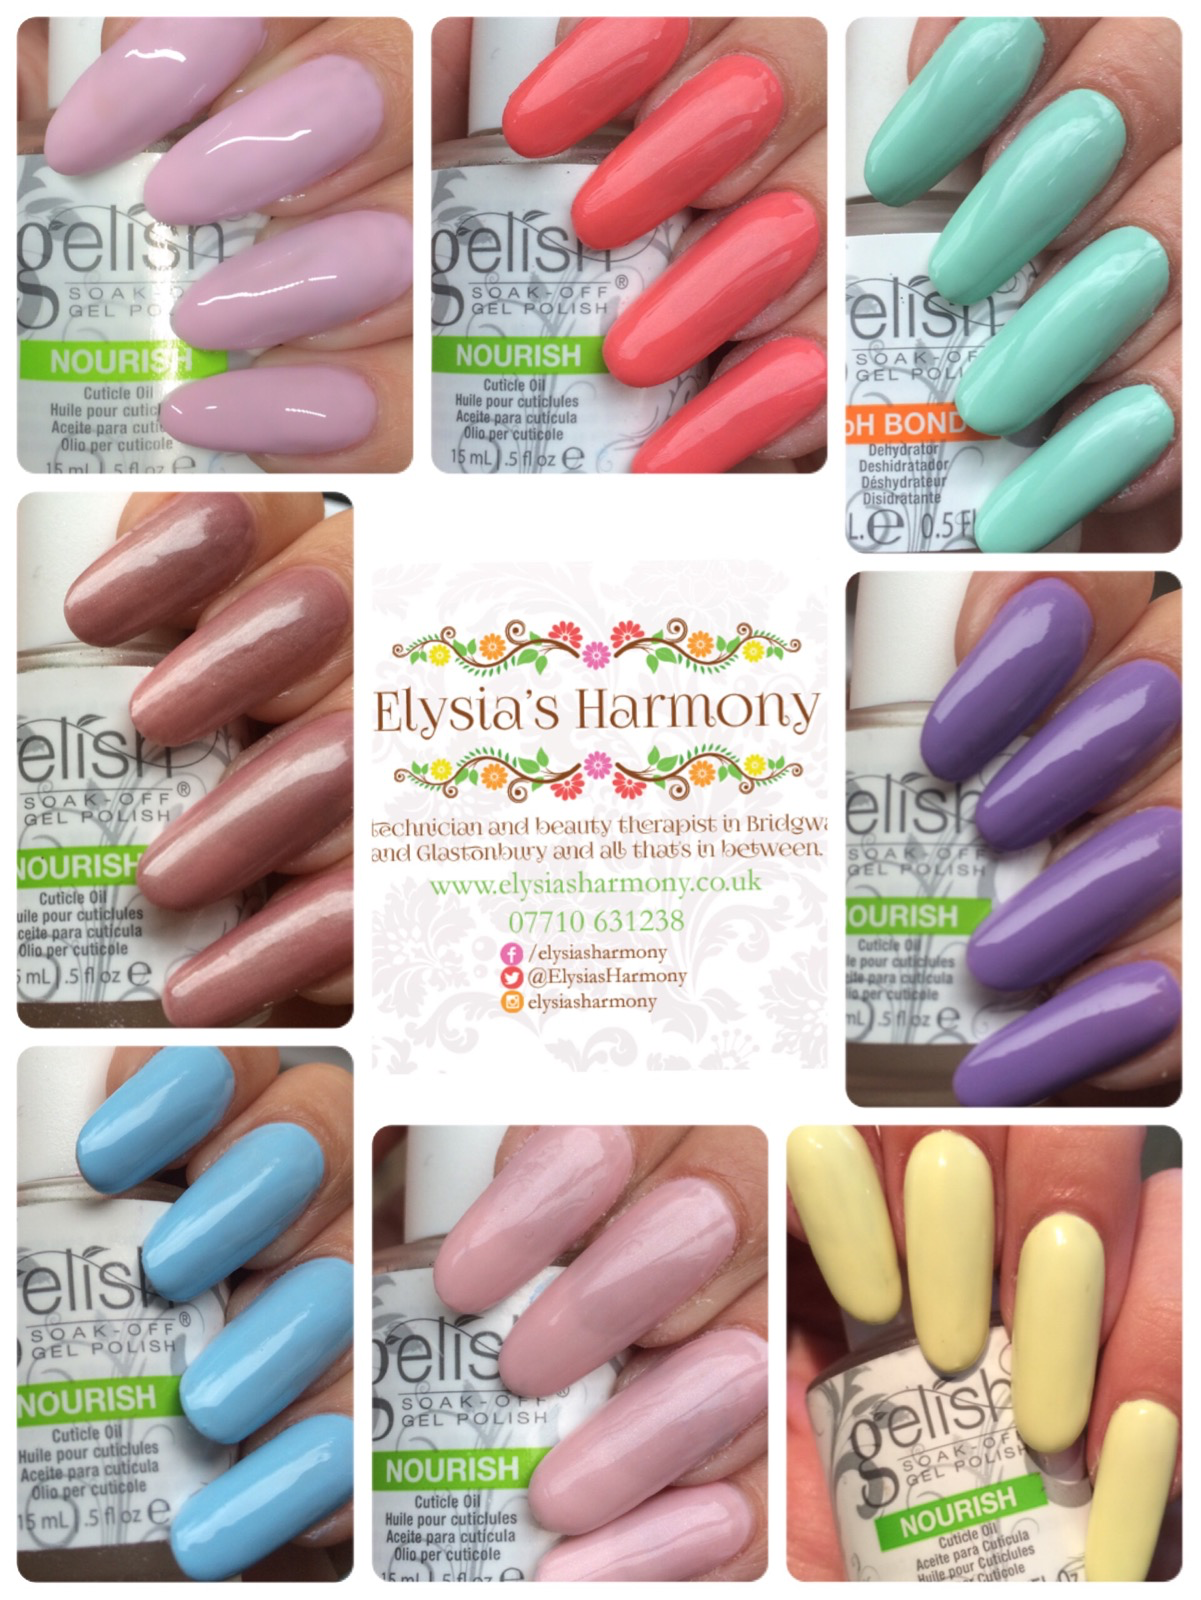
Here’s the a few of the Secrets collection only currently available in the UK. It was first released on the 1st July with singles being available straight away through educators. The entire collection of 16 is now available online but only as a whole collection.  As per usual the lighting pictures are indoor, led and outdoor but are on Prohesion L&P extensions.

The collection comprises of 16 colours created especially by requests from UK nail harmony techs. What this means is there are some fantastic colours available. I haven’t purchased the entire collection yet but did buy the pastels along with sun kissed bliss. The results of which you can find below. With these new Gelish colours only just released that means there are currently no Morgan Taylor or All That Jazz polish matches.

A Tribe Called Cool – 3 coats

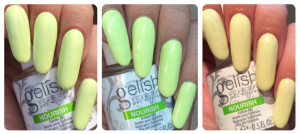
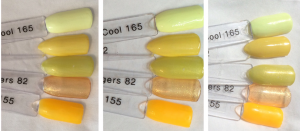
This is what we’ve all been waiting for a pastel yellow. It does need warming but applies well in 3 coats.

A Tribe Called Cool Indoor, LED, Outdoor

Mint madness – 2 coats

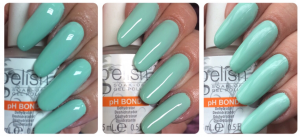
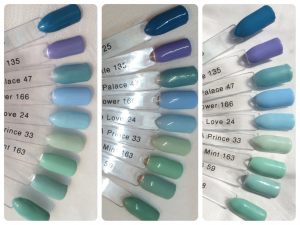
This colour applied beautifully in 2 coats. It’s much lighter then mint of Spring and is like a mix between my one blue love and kiss me I’m a prince.

Mad About Mint Indoor, LED, Outdoor

I’m A Wild Flower – 2 coats

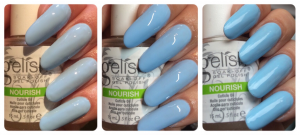
This is a beautiful pastel blue. It’s slightly darker then my one blue love, but its application is far superior. Do warm up whilst prepping though.

I'm A Wildflower Indoor, LED, Outdoor
I’m A Wildflower Indoor, LED, Outdoor

Kiss Kiss – 3 coats

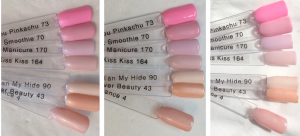
This is the latest pastel pink, I do recommend you warm though as I have had it wrinkle on me, so super thin coats are needed. It’s a bit like light elegance but more opaque.

Kiss Kiss Indoor, LED, Outdoor

Once Upon A Manicure – 3 coats

This is a baby pink with a hint of purple. Again this one needs  to be warmed and applied super thin as it did have a tendency to wrinkle. I’m not overly happy with the pictures here so will update them when I have a chance. As a result I’m including a simple set taken in natural daylight.

Once Upon A Manicure Indoor, LED, Outdoor

Once Upon A Manicure Outdoor

Hidden Identity – 2 coats

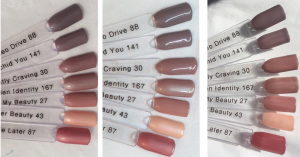
This is a beautiful frosted light brown. It applies superbly in 2 coats and would be excellent for those who want to keep their nails neutral.

Hidden Identity Indoor, LED, Outdoor

Picture Perfect – 2 coats

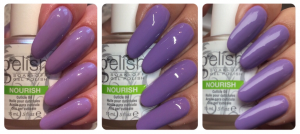
Another must from the collection. A dark lilac with no fading. It comes across quite dark in the official pictures but is much lighter in the sunshine. A definite must.

Picture Perfect Indoor, LED, Outdoor

Sun Kissed Bliss – 2 coats

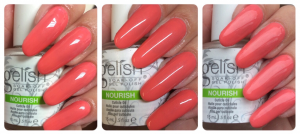
This burnt coral is a dream to apply in 2 coats and is just simply stunning.

Sun Kissed Bliss Indoor, LED, Outdoor


Swatches

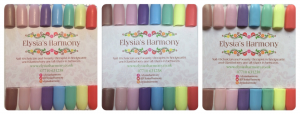
Top it off vs matte – to give you an idea of how easy the application was on most. My 3 year old daughter swatched all of the matte ones and a couple of the top it off ones.

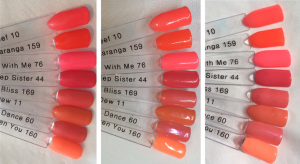
Secret Collection Pastel Swatch Stick Comparisons Matte vs TIO Indoor, LED, Outdoor

Colour comparisons

Hidden Identity Swatch Stick Comparisons Indoor, LED, Outdoor

Once Upon A Manicure & Kiss Kiss Swatch Stick Comparisons Indoor, LED, Outdoor

Picture Perfect Swatch Stick Comparisons Indoor, LED, Outdoor

I'm A Wildflower & Mad About Mint Swatch Stick Comparisons Indoor, LED, Outdoor
I’m A Wildflower & Mad About Mint Swatch Stick Comparisons Indoor, LED, Outdoor

A Tribe Called Cool Swatch Stick Comparisons Indoor, LED, Outdoor

Sun Kissed Bliss Swatch Stick Comparisons Indoor, LED, Outdoor

Summary

These colours are beautiful and most apply really well. I have a feeling that once I am used to applying once upon a manicure and kiss kiss that the wrinkling issues I experienced would be ironed out. As with all the colours by Gelish, every single on is made differently so we as good techs have to learn how to adapt. And after all it’s much cooler here in the uk as opposed to California so a bit of warming is to be expected.

I’d love to hear your thoughts and see your pictures from this collection.

Building My Beauty Business – End June 2016

The last few weeks I have started on creating my business plan and timeline of where I want to be and how I am going to get there. This is a massive task in its self and I can’t see me being finished any time soon, plus it needs constantly updating. But I have made a start and can build upon it.

I finished my trends for the Mastered programme – I am not too happy with these ones and it wasn’t quite what I had planned but its different and I know what I would change next time.

Spring Summer 2017 Trends

I have completed another brief for Mastered which was based on the OPI New Orleans Collection. I’m quite pleased with these and will be trying it in a few different colours. My aim was to show an easy art design which could be copied at home whilst keeping the feeling of Mardis Gras in mind.

OPI Brief

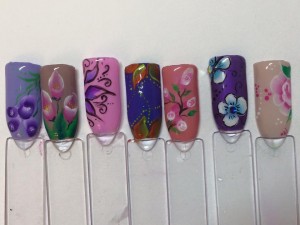
And I attended my first One Stroke Class – This is what I needed as it is so much harder when I try from books. I’ve still got a way to go before I am proficient but I do plan to practice, practice and practice some more.

One stroke Class
Whats Next:
I’m planning on doing a bit more marketing to build my business, creating some new posters and offering Gelish Pedicures for half price when a client has any hand treatment.
Complete my Louboutin Beaute Brief for Mastered – This is a really hard one where we can only use one red pillar box red colour.

Update my colours list and put my pictures on my colour gallery – most get this done fairly quickly with the fabulous Nail Harmony UK soon to be launching 16 new and exclusive colours only available via educators in the UK. That means they are not available from Sallys or in the USA.

Start practicing my one stroke designs.

Building My Beauty Business – the starting point

I have decided to do a new category of blog posts about what I am doing each week to help realise my current dream of owning my own spa. I figure, even if no one reads it, it’s still motivational for me getting it all down on paper and helping to push myself.

As this is the first of such posts it’s mostly about what I have achieved so far and where I started.

About 5 years ago I started to think what I wanted to do with the rest of my life. At the time I was working in the family accountancy business, something I still dip in and out of at the moment, but my father started thinking about retiring so it was either gain a lot more qualifications in accounts or try something new. I opted for the new option. I wanted something that was fun, engaging and social. At the time I was spending a lot of money each week at a salon and so I decided, wouldn’t it be great if I owned my own salon and didn’t have to pay to have treatments. So with this firmly in my mind I decided in order to have a successful business I had to learn about it from the ground up in order to help out and fill in if people where sick and to have respect from those I hoped to employ and not have the wool pulled over my eyes, and so enrolled myself on a beauty therapy NVQ2 course around my full time job.

The course should have taken me 2 years however I missed the last 3 months after the dr told me it would take me at least 6 months to get pregnant, which it did not lol. Following the arrival of my beautiful daughter I went back to complete the course just over a year later.

On completion of the course I soon learnt that as a busy mum who still worked doing your nails was either impossible due to time constraints and if you did manage to give yourself that little well earned treat, the polish would chip a few hours later. Unhappy with wasting my time for a dodgy looking polish I decided to research in to what else was out there for people who simply could get a manicure to last. I researched lots of different companies and trailed various different products from the likes of bio sculpture, CND, Jessica and OPI but it was Gelish from Nail Harmony that came out on top. Not only did I manage to keep a chip free beautiful french on my nails for 5 weeks it had been (and continues to be) awarded the best education award by Scratch Magazine. I emailed my local educator to find out more and get myself booked on the Gelish 101 course. I had an absolutely fantastic day learning lot of different tips and tricks on how to carry out a good Gelish manicure. I had all my new goodies and I was keen to get started. I set up my Facebook page and just went for it. With in a week I had my first fully paying client who had sort me out as opposed to friends or family. I was so excited but nervous at the same time and then when I got to her house (I was starting out mobile) I found she was an extreme nail biter. I decided to not let it phase me and put into practise all that I had learnt on my Gelish training and I was pleased that they lasted over 2 weeks.
I continued to work evenings offering mobile appointments to those who wanted them, but I was also starting to get lots of requests for extensions. So back to my educator I went where I studied hard gel. I decided on hard gel as opposed to acrylics as I wasn’t sure about the smell of acrylic. Although having now studied Prohesion liquid and powder I found it didn’t bother to much and is one of my most requested services. I continued to work my way through all of the Nail Harmony programme and I am excited to hopefully finish next month with the last training for me being the reflections design PhD (which is an advanced liquid and powder design course). Then all that remains is to complete the final exam to gain my Nail Harmony PhD.

Since my daughter started pre school in January this year it has allowed me the time to seek work during the day (as she had always come to work with me for accountancy). I decided against further building of my mobile business in Bridgwater and just stick to the clients I have there and focused my attention on areas that I felt would appreciate a great service and not just the cheapest service. I researched the different locations I wanted to work and came up with my new catchment areas, hit the streets with my portfolio and was lucky enough to get 2 salons to work in. One in Wells and the other in Castle Cary, both of which I started in April this year.

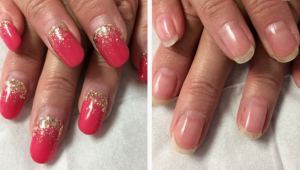
Heres my first ever Gelish on myself back in Autumn 2014 and then one of my sets from last month (May 2016) using Prohesion and Gelish to show you how far I have come.

First ever Gelish on myself

Black shadow neon dots L&P

So thats a quick round up of where I am now, and here’s what I plan to do this week to help me on my way of achieving my dream of owning my own spa.

  1. Finish my designs for the Nails Mastered Spring / Summer Trends for 2017. Keeping on top of up coming trends is important to me as I hope it helps gain me the fashionista clients along with adding further designs to my portfolio in order to expand my client base in the salons.
  2. Start thinking about my timetable of where I want to be and how I’m going get there for the next 2 years.
  3. Plan where I see myself in 5 years and 10 years (hopefully my own successful spa).
  4. Attend a one stroke course on the 19th as I feel this would be a very popular add on to my services.